
Why Grow Turnips in Containers?
Turnips are exceptional root vegetables for anyone starting a garden. They thrive in containers, making them perfect for balconies, patios, or small yards. You’ll find them fast-growing, hardy, and surprisingly flavorful, with smooth, crisp roots and tender greens ready to harvest in just 70 to 90 days. Plus, they don’t demand a lot of space, so even if your outdoor area is modest, you can have a rewarding vegetable patch. Growing turnips in pots means you control the soil and watering, reducing pest problems and boosting your success rate. This article walks you through every step, empowering you with practical, clear advice so you feel confident nurturing your crop from seed to harvest.
Getting Ready — What You’ll Need
Before you start, gather these essentials to set your turnip plants up for success:
- Container: Choose pots that are at least 30 cm (12 in) deep and 30–40 cm (12–16 in) wide to allow ample root development. Wider containers accommodate more plants. Good drainage is a must — pots without holes won’t work. (If your area is very hot, clay pots help keep roots cooler.)
- Soil: Use a loose, well-draining mix — aim for about 70% loam, 20% compost, and 10% coarse sand or perlite. This balance keeps roots moist yet aerated, preventing rot. (Avoid dense, heavy soils that compact easily.)
- Fertilizer: A balanced or low-nitrogen fertilizer, such as one with an N-P-K ratio around 5-10-10, supports strong root growth without encouraging excessive leafiness.
- Seeds: Pick reliable varieties suited for containers and your season. ‘Hakurei’ is a popular, sweet salad turnip, while ‘Purple Top White Globe’ is traditional and tasty. These varieties respond well to pot culture.
- Light: Full sun exposure is ideal — aim for 6 to 8 hours daily for best growth. If you garden in cloudier climates, a south-facing balcony or supplemental lighting works.
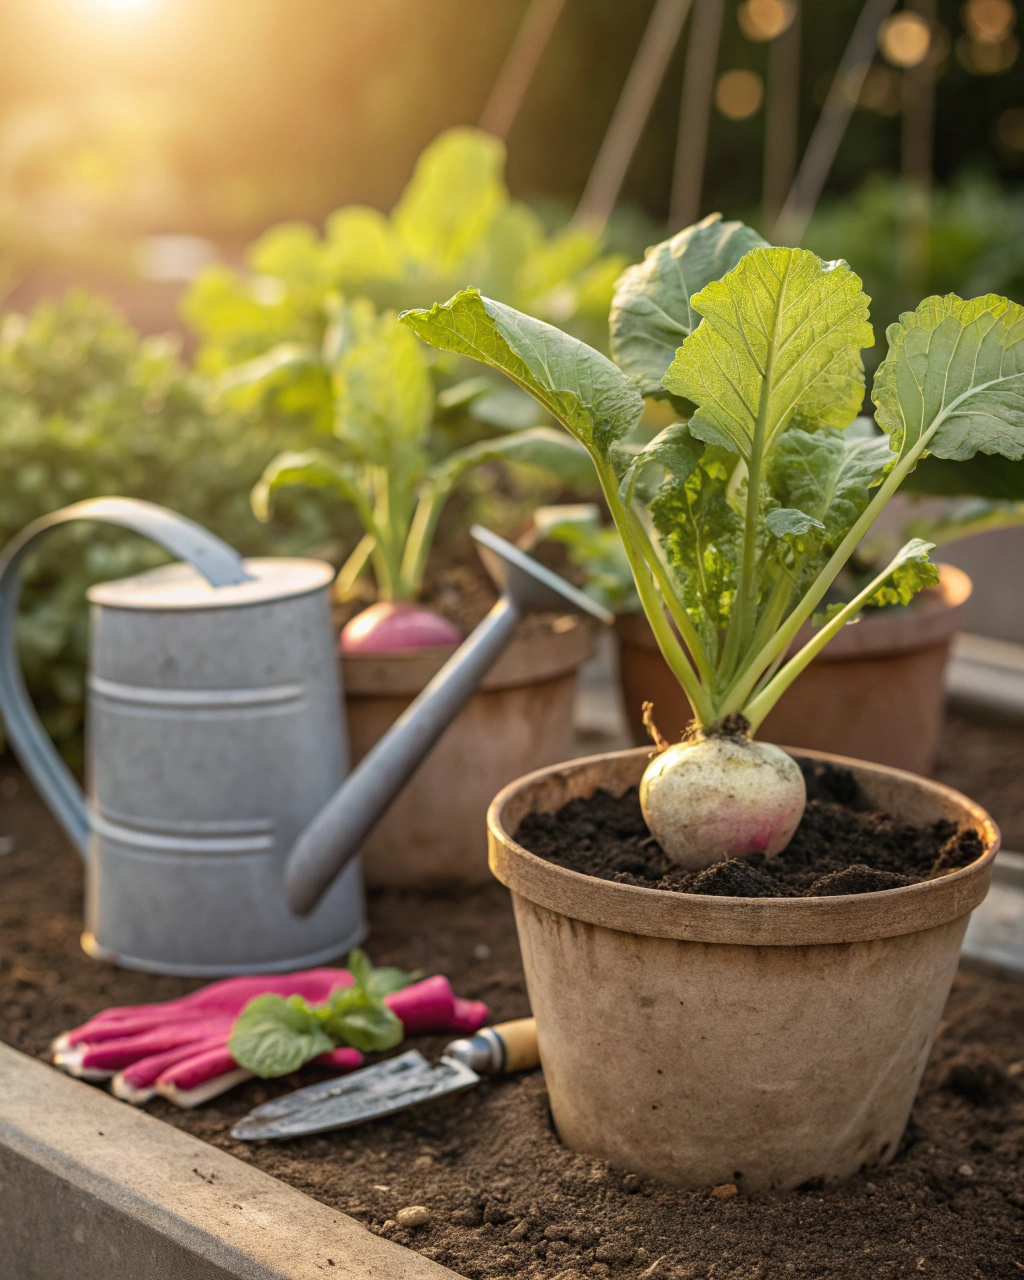
- Tools: Have a hand trowel, watering can with a fine rose, scissors for thinning, and garden gloves handy.
Eco-friendly tip: Reuse old containers by cleaning thoroughly. Collect fallen leaves or kitchen scraps to make your own compost. Rainwater is excellent for watering and prevents mineral buildup in pots.
Step-by-Step — How to Grow Turnips in Pots
1. Preparing Your Pot
Start by washing your pot with warm water and a mild soap to remove residue or algae. Thorough cleaning prevents the build-up of diseases. Place a layer of drainage material — about 3 to 5 cm (1 to 2 in) of coarse gravel or broken pottery shards — at the bottom. This layer prevents waterlogging.
Next, fill the pot with your soil mix, leaving about 2.5 cm (1 in) below the rim to avoid overflow when watering. The soil should feel loose and crumbly, not hard or packed. You want moisture that holds like a sponge wrung out — damp but not soggy. Overly compacted soil suffocates roots and causes misshapen turnips, so break any clumps and fluff the soil.
Common mistake to avoid: Don’t skip drainage holes or let soil dry out completely before planting. Both lead to stress and failed seedlings.
2. Sowing or Planting
Turnip seeds are tiny, roughly the size of a poppy seed. Sow them directly into the soil at a shallow depth of 0.5 to 1 cm (about 1/4 in). Space seeds about 5 cm (2 in) apart in rows or scattered loosely. When sowing, lightly press the seeds into the soil and cover loosely with soil.
The ideal soil temperature for germination is between 10°C and 22°C (50°F to 72°F). If you’re sowing indoors or early in the season, you can pre-warm your soil or start seeds on a sunny windowsill. There’s no need to pre-soak turnip seeds, but if germination is slow, you can briefly soak them in warm water for 2 hours — this softens the seed coat and speeds sprouting.
Once sown, gently mist the surface to settle soil and keep it moist. You’ll know conditions are right when you see tiny pale shoots breaking the surface after 5 to 10 days. The soil should feel cool and slightly damp under your fingers, not dry or crusted over.
Pro tip: To make thinning easier later, sow a few extra seeds in each section — it’s better to have crowded seedlings early on than sparse patches.
3. Watering and Sunlight
Turnips like consistent moisture but dislike soaking. Water deeply and slowly until you see moisture draining from the bottom — generally this means watering 2 to 3 times per week in warm weather, less if cool or rainy. Check soil moisture by poking your finger about 3 cm (1 in) in; if it feels dry, it’s time to water.
In hot, dry, or windy spots, soil can dry quickly. To combat this, group your pots together to create a microclimate that retains humidity. Mulching the surface with straw or dried leaves helps lock in moisture and cool the root zone.
Turnips require plenty of light — aim for 6 to 8 hours of direct sunlight daily. If you live in a cloudy area, choose your brightest spot or add a grow light. Turn pots regularly to ensure even light exposure and avoid lopsided growth.
4. Feeding and Maintenance
Fertilize your turnips about every 3 to 4 weeks using a balanced or low-nitrogen fertilizer. Too much nitrogen encourages leafy tops at the expense of root development.
When seedlings reach about 5 cm (2 in) tall, thin them carefully by snipping weaker plants at soil level to 7 to 10 cm (3 to 4 in) apart. This spacing prevents overcrowding, reduces competition, and helps form nice, round roots.
Keep the soil light and aerated by gently loosening it occasionally with your fingers or a small tool. This prevents crusting and allows roots to breathe.
Watch for nutrient issues: yellowing leaves often indicate imbalance — add compost or liquid seaweed extract to remedy this. Overwatering causes wilting or soft, lifeless leaves — adjust accordingly.
“The secret is not more work — it’s regular care and observation.” That’s from my own experience watching small turnip seedlings flourish with a little daily attention.
5. Troubleshooting While They Grow
- Yellow leaves: Often excess nitrogen or poor drainage. Switch to a fertilizer higher in phosphorus and check your pot’s drainage.
- Slow or stunted growth: May mean too little sun or overcrowding. Thin plants and move pots to a sunnier spot if possible.
- Swollen tops but thin roots: Likely overwatering or compacted soil. Let soil dry out a little and mix in coarse sand or perlite.
- Pests: Aphids or flea beetles love turnip greens. Spray with mild soapy water early in the morning and remove damaged leaves promptly.
- Poor germination: Probably seeds planted too deep or soil too cold. Sow shallower and ensure a temperature above 10°C (50°F).
6. Harvesting
After about 70 to 90 days, your turnips should be ready to harvest. Look for roots that are about 5 to 7 cm (2 to 3 in) in diameter — firm with smooth skin. The color depends on variety — creamy white, purple-topped, pale yellow — but the surface should be free of cracks or soft spots.
Check the top leaves too. When they start yellowing or slowing growth, that signals maturity. To get sweeter roots, reduce watering in the final week before harvest — this concentrates sugars.
Gently loosen the soil and pull the turnip straight up by the base. The root should feel firm and dense, with a gentle “pop” as you free it. If you cut them, use sharp scissors to avoid damaging the root or crown.
For storage, keep roots in a cool, dark place between 4 and 7°C (39 to 45°F) with moderate humidity for up to 2 weeks. Turnip greens are best eaten fresh but can be refrigerated for a couple of days.
Extra Tips for Perfect Results
- Use companion plants such as radishes (quick-maturing), lettuce (shallow roots, helps keep soil cool), chives (repels pests), and peas (fix nitrogen).
- Rotate your pots or soil mix every season to avoid disease build-up and nutrient depletion.
- Mulch with straw or dried leaves to retain humidity and reduce weeds.
- Use rainwater if possible — it’s softer and less alkaline than tap water, which can harden soil over time.
- In windy areas, cluster pots close together to give mutual shelter and hold moisture.
- If your garden faces strong midday sun, use a thin fabric or netting to provide light shade and prevent leaf scorch.
Common Mistakes and How to Fix Them
- Overwatering: Causes roots to rot and become soft. Let the top 2 cm of soil dry out before watering again.
- Weak growth due to insufficient light: Move pots to a brighter spot, ideally with full sun.
- Yellow leaves from excess nitrogen: Switch to fertilizer higher in phosphorus and potassium to promote root growth.
- Poor germination from seeds planted too deep: Keep sowing depth shallow — 0.5 to 1 cm.
- Misshapen roots due to compacted soil: Add coarse sand or perlite to your mix and avoid pounding the soil down.
Harvest and Storage
To harvest, gently grasp the turnip near the base of its stems and tug firmly, easing the root free from the soil to avoid breaking it. Roots should be firm and smooth with a mild earthy scent. Avoid pulling too early—an underdeveloped root feels spongy and tastes bitter.
Store your turnips in a dark, cool space at about 4 to 7°C (39 to 45°F), maintaining humidity around 90%. They will keep fresh for up to 2 weeks. For longer preservation, try pickling slices, drying slices in the oven on low heat, or blanching and freezing.
If you want to save seeds for next season, allow a few turnips to flower and seed outdoors. Collect dried seed pods when they turn brown, and store seeds in a cool, dry place.
What Success Looks Like
When you pull your first firm, fragrant turnip from its pot, you’ll feel a quiet satisfaction — the soft earth slipping off, the cool weight in your hand, and the fresh, earthy smell. Expect to harvest about 1 to 2 kg (2 to 4 lb) of turnips from a 30 cm x 40 cm (12 x 16 in) container, enough to enjoy in salads, roasts, or sautéed as greens and roots.
Remember, the real reward is in your daily observation, the subtle cues you spot, and the patience you practice. Growing turnips teaches you how nature responds to your care — and that connection is the heart of gardening.
Mini Recap — Your Success Checklist
- Pot depth: Minimum 30 cm (12 in).
- Soil mix: 70% loam, 20% compost, 10% coarse sand.
- Watering: Deep watering 2–3 times per week, adjust by touch.
- Sunlight: 6–8 hours daily.
- Fertilizer: Every 3–4 weeks, low nitrogen fertilizer.
- Harvest: After 70–90 days when roots reach 5–7 cm diameter.
Closing Reflection
Every plant you grow teaches you something new. Don’t rush the process—watch your turnips quietly as they sprout, stretch, and swell in their pots. Adjust when needed, trust your observations, and enjoy each step. That’s what transforms you from a garden beginner into a gardener with a true connection to the earth and the rhythm of growth. With turnips, all are welcome to this rewarding journey.

Hi there — I’m Kyla, the creator behind Kyla Garden Tips 🌿
I’ve always been passionate about plants, flowers, and the simple joy that comes from growing something beautiful. What started as a small balcony garden has turned into a love for helping others create their own green spaces — no matter how big or small.