
Why Grow Thyme in Pots?
You might think growing thyme is tricky, but it’s actually one of the easiest, most rewarding herbs you can cultivate—especially if you’re limited to a small kitchen window or balcony. Thyme’s fresh, fragrant leaves brighten dishes and fill your space with a wonderful Mediterranean scent. Even if you’ve never gardened before, you can master this herb in pots. No big garden required. It tolerates a range of conditions, grows compactly, and offers constant harvests that last all season. Plus, thyme is drought-tolerant and pest-resistant once established, saving you time and worry. Follow these straightforward steps to grow healthy, flavorful thyme that’s ready when you need it, right at your fingertips.
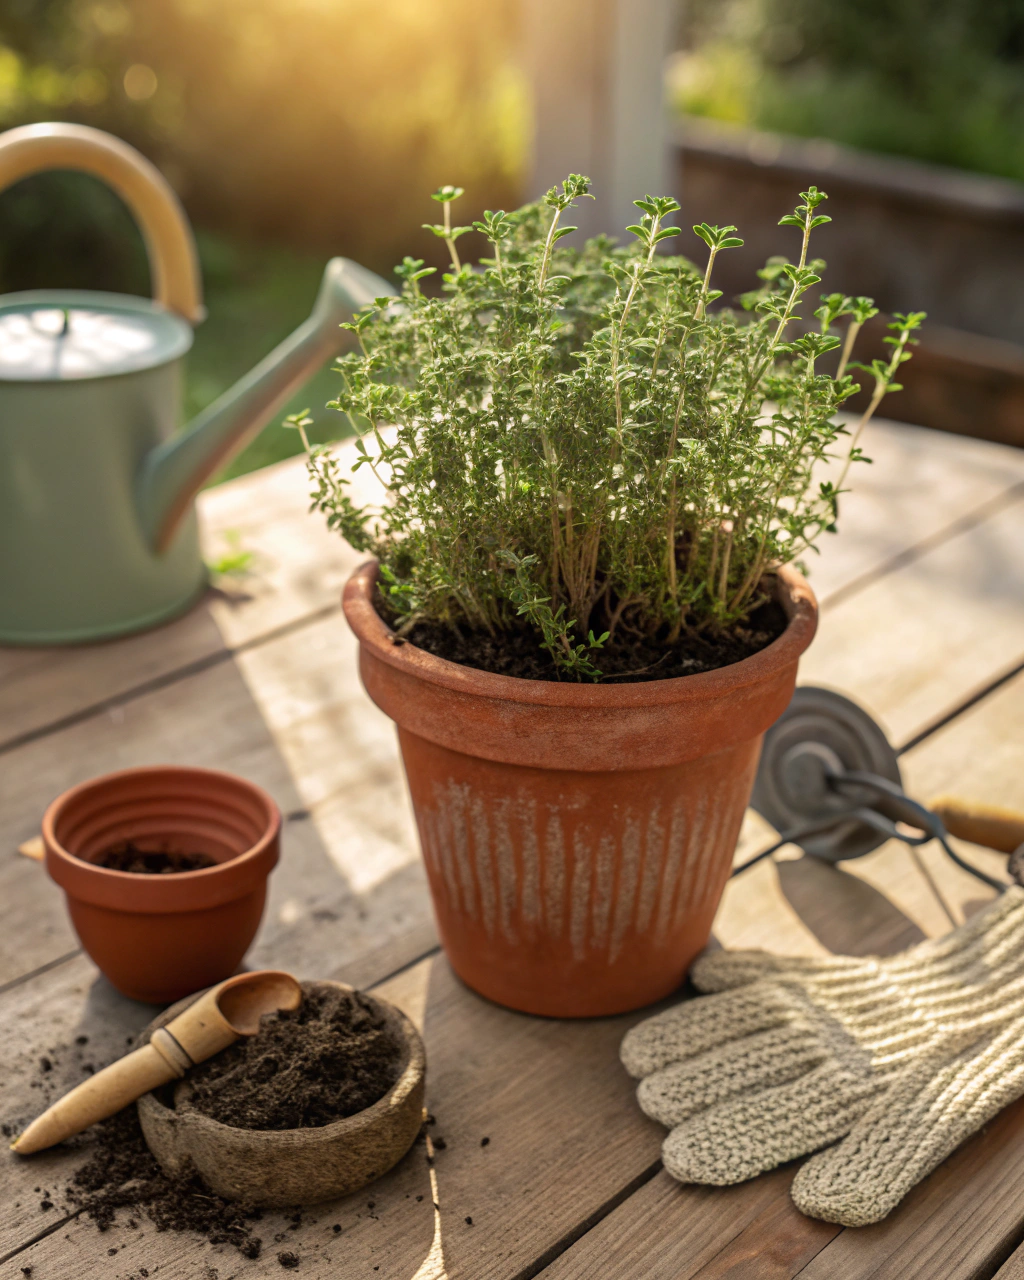
Getting Ready — What You’ll Need
Before you start, gather these essentials to set your thyme up for success:
- Container: At least 20–30 cm (8–12 inches) deep and wide. Choose terracotta for breathability or plastic for moisture retention. (If you live in very warm regions, use clay pots to keep roots cooler.)
- Drainage: Pots MUST have drainage holes to prevent soggy roots.
- Soil: Well-draining mix with 70% loam or potting soil, 20% compost, and 10% coarse sand or perlite for airflow and moisture balance.
- Seeds or seedlings: Choose common thyme (Thymus vulgaris) for cooking or lemon thyme (Thymus citriodorus) for a citrus twist.
- Fertilizer: Balanced or low nitrogen, liquid or granular, for feeding every 3–4 weeks.
- Light source: At least 6–8 hours of direct sunlight daily, either natural (a south-facing window is ideal) or supplemental grow lights.
- Watering tools: A watering can with a narrow spout or a gentle spray bottle to avoid disturbing soil.
- Gardening tools: Small hand trowel, pruning scissors, and a moisture meter (optional but useful to avoid overwatering).
On a budget? Use recycled containers with holes drilled into the bottom, and mix homemade compost with local sandy soil for an eco-friendly, low-cost option.
Read More: Chives in Pots: The Easiest Herb for Apartment Gardens
Step-by-Step — How to Grow Thyme in Pots
1. Preparing Your Pot
Start by cleaning your pot thoroughly—any old residues can harbor disease. Place a 2–3 cm (1 inch) drainage layer at the bottom using gravel or broken pottery. This prevents soil clogging the drainage holes and keeps roots from sitting in water. Next, fill the pot with your prepared soil mix, leaving 3–5 cm (1–2 inches) from the rim for watering space. The soil should feel moist but springy—think of a sponge wrung out but not dry or dripping. Avoid packing down the soil too firmly; roots need air pockets to breathe. Also, check your soil pH—it should be slightly alkaline, around 6.0 to 8.0. If too acidic, add some lime or crushed oyster shells.
2. Sowing or Planting
If starting from seed, sow them at a shallow 0.5–1 cm (¼–½ inch) depth because thyme seeds need light to germinate. Space seeds about 2–3 cm (1 inch) apart to avoid overcrowding. Maintain a temperature between 18–22°C (65–72°F), which supports germination in 7–14 days. Pre-soaking is not necessary, but gently scarifying very hard seeds can improve success. When the soil is right, you’ll notice it feels warm and steady. Seeds that are too deep or soil too cold can hinder sprouting. Pro tip: Cover the sown pot loosely with clear plastic wrap to retain humidity and warmth. Remove the cover as soon as seedlings appear.
If transplanting seedlings, create holes matching their root balls’ size, spacing plants at least 15 cm (6 inches) apart for airflow and growth.
3. Watering and Sunlight
Thyme prefers soil that dries out between waterings. Water deeply so moisture reaches the root zone—about until you see water draining through the pot—but then let the top 2 cm (¾ inch) dry before watering again. In warm weather, expect to water about 2–3 times per week. Overwatering is a top mistake, causing rot. In hot or windy spots, group pots together to maintain humidity, or mulch with dry straw. Partial shade during peak sun hours (12–4 pm) can prevent leaf scorch outdoors.
Thyme thrives with 6–8 hours of sunlight each day. Indoors, place pots near a bright south or west window; if light is limited, supplement with LED grow lights on a timer set to 8 hours daily.
4. Feeding and Maintenance
Feed your thyme every 3–4 weeks with a balanced fertilizer low in nitrogen, such as one with an NPK ratio of 5-10-10, to encourage bushy, flavorful growth rather than just leafy shoots. You can use a diluted liquid fertilizer or organic alternatives like worm castings or fish emulsion.
Thin seedlings when they’re a few centimeters tall by snipping the weaker ones at soil level; this prevents overcrowding and keeps plants healthy. Keep the soil aerated by gently stirring the surface with a small fork now and then to avoid crusting.
Prune regularly after your first harvest—snip stems back by about a third to encourage denser growth and prevent woody excess. Check leaves often for signs of imbalance: yellow leaves can mean too much nitrogen; dull, fuzzy leaves might need more light. The secret is not more work—it’s regular care and observation.” — an experienced gardener’s reminder.
5. Troubleshooting While They Grow
Don’t be discouraged by common hiccups. If leaves turn pale or yellow, your thyme might be nitrogen-heavy, so switch to a fertilizer richer in phosphorus or add compost to rebalance nutrients. If your soil remains soggy long after watering, check your drainage holes—they may be blocked. Stunted growth often means insufficient sunlight; simply move your pots to a brighter spot.
For pests like aphids or spider mites, spray with water or make a mild soap solution. Thyme’s natural oils resist pests, but close attention helps spot infestations early. If roots grow misshapen or crowded, it signals compacted soil—next time, incorporate more coarse sand or perlite.
6. Harvesting
Your thyme will be ready to harvest about 70–90 days after sowing (roughly 2–3 months). You’ll recognize maturity when stems look firm and woodier but leaves remain vibrant green and smell strong and fresh. To enhance flavor, reduce watering during the last week before harvest to concentrate essential oils.
Harvest by cutting sprigs just above a leaf node—it will encourage new growth. When you pull a mature stem, it snaps crisply, releasing a warm, earthy aroma that fills the air. Avoid stripping more than one-third of your plant at a time to keep it healthy.
Store fresh thyme in a loosely sealed bag in the fridge at 4–7°C (39–45°F) for up to 2 weeks. You can also dry sprigs by hanging them upside down in a cool, dark, dry place for about 1-2 weeks, or freeze chopped leaves in ice cube trays with a bit of water or olive oil for easy cooking portions.
Extra Tips for Perfect Results
- Plant thyme next to roses (pest protection), tomatoes (improves flavor), basil (shared nutrients), or lavender (complementary fragrance and growth habits).
- Rotate your pots every season to prevent nutrient depletion and soil fatigue.
- Apply mulch made of straw or dry leaves to retain moisture and regulate soil temperature.
- Use collected rainwater instead of tap water, which often contains chemicals that can harden soil over time.
- If your area is windy, cluster pots together to shield plants and maintain shared humidity.
- Under harsh midday sun, add light fabric shading for a few hours to protect delicate leaves.
Common Mistakes and How to Fix Them
- Overwatering: Roots become soft and rot. Solution: let the top 2 cm of soil dry completely before watering again.
- Weak growth: Not enough sunlight. Fix by moving to a sunnier spot or adding grow lights.
- Yellow leaves: Too much nitrogen. Switch fertilizer to one with higher phosphorus content.
- Poor germination: Seeds planted too deep. Always keep sowing depth to 0.5–1 cm.
- Misshapen roots: Soil too compacted. Always include coarse sand or perlite in your mix for airflow.
Harvest and Storage
Harvest thyme gently by snipping stems just above leaf nodes; this way, you protect the plant’s growth points. Avoid pulling stems out, which can damage roots and soil structure. Store fresh leaves in a paper towel-wrapped container or loosely sealed plastic bag at around 4–7°C (39–45°F), where they stay fresh for up to 2 weeks. Dry thyme by hanging it in bundles in a dark, airy place away from sunlight. Alternatively, freeze chopped thyme in olive oil cubes for long-term preservation.
To save seeds for next year, allow a few flowers to mature fully and dry on the plant, then gently shake the seeds into a paper envelope. Store seeds in a cool, dry place until you’re ready to sow.
What Success Looks Like
When you harvest the first firm, fragrant sprigs of thyme from your pot, you feel a quiet satisfaction—the convection of sunlight, moisture, and your care manifesting in tangible flavor. Expect to yield approximately 30–50 grams (1–2 ounces) of fresh thyme per harvest every few weeks once established, adding up to about 1–2 kg (2–4 lb) over the growing season per pot. More than yield, it’s the experience: seeing tiny leaves burst with essential oils, smelling the warm, woody scent rubbing between your fingers, and knowing that your kitchen meals are enriched by your own hands. This connection with nature and rhythm of care is the real reward.
Mini Recap — Your Success Checklist
- Pot depth: At least 30 cm (12 inches)
- Soil mix: 70% loam, 20% compost, 10% sand or perlite
- Watering: Deeply, 2–3 times per week, letting top 2 cm dry first
- Sunlight: 6–8 hours daily direct light
- Fertilizer: Balanced, low nitrogen, every 3–4 weeks
- Harvest: From 70 to 90 days after sowing
Read Next: Parsley in Pots: The Simple Secret to Constant Fresh Flavor
Closing Reflection
Growing thyme in pots isn’t about chasing perfection; it’s about cultivating consistency, patience, and observation. Every small adjustment you make teaches the plant—and you—how to thrive. There will be setbacks, yes. But each one is an opportunity to learn, to adapt, and to deepen your connection with the natural world. Remember: “Every plant you grow teaches you something new. Don’t rush it—watch, adjust, and enjoy. That’s what makes you a gardener.” With thyme in your kitchen, that journey is fragrant, fulfilling, and always within reach.

Hi there — I’m Kyla, the creator behind Kyla Garden Tips 🌿
I’ve always been passionate about plants, flowers, and the simple joy that comes from growing something beautiful. What started as a small balcony garden has turned into a love for helping others create their own green spaces — no matter how big or small.