
Introduction
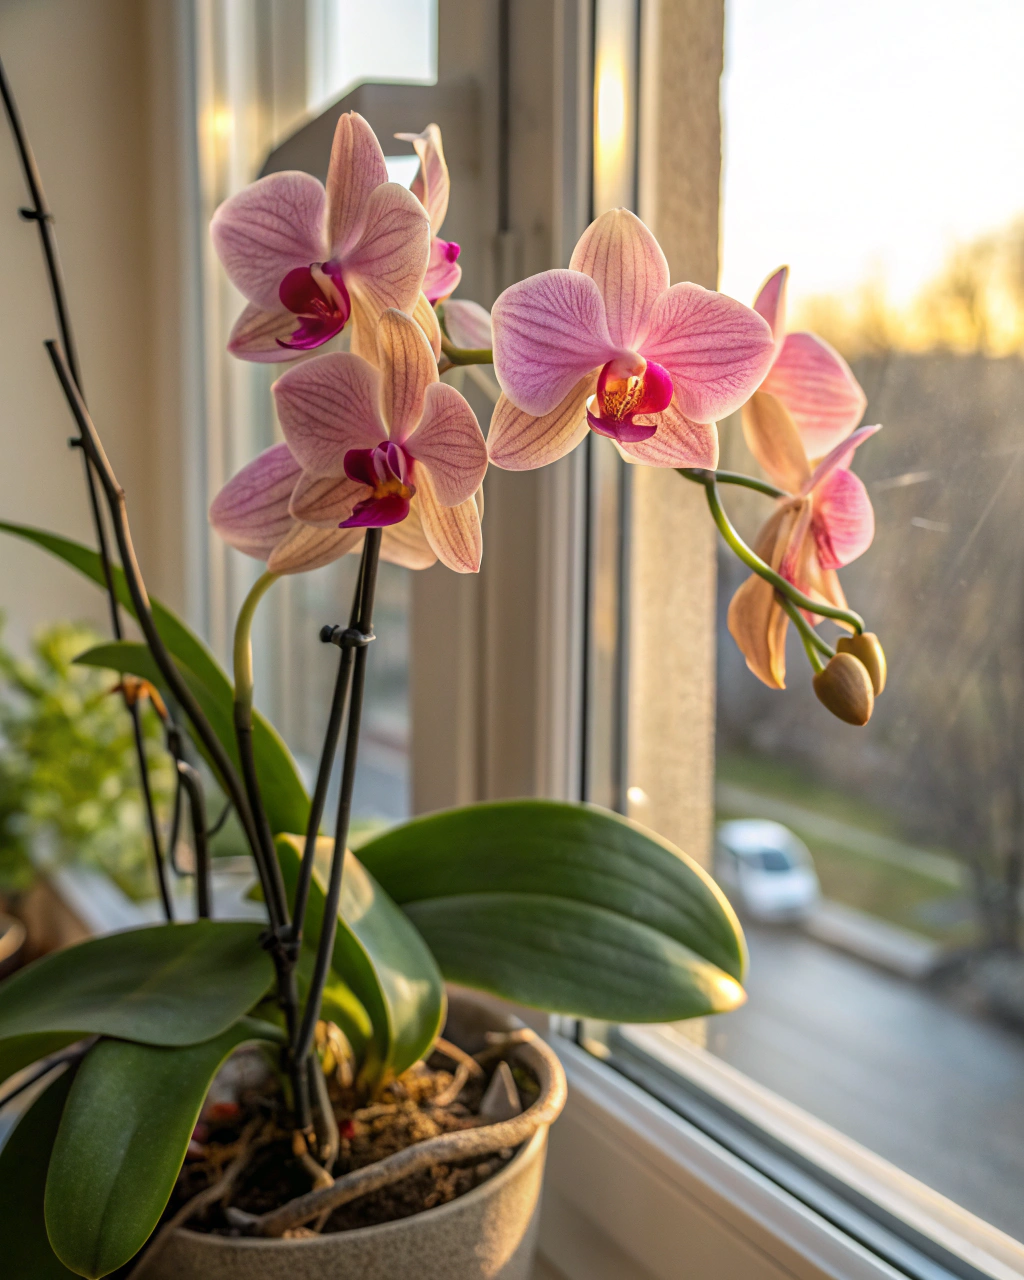
Orchids have an almost magical way of transforming your home or balcony with their elegant, long-lasting blooms. But keeping these delicate beauties in flower well beyond their usual lifespan can feel elusive to many gardeners. The secret? It’s not about specialized equipment or fancy greenhouse setups, but rather about understanding subtle care details, consistent observation, and timing your actions just right. By the end of this guide, you’ll know exactly how to nurture your potted orchids so they reward you with vibrant, extended blooms and healthy growth. Trust me—anyone with patience and a bit of attention can master this art.
Preparing the Perfect Setup
Before diving into daily care, it’s essential to create the ideal environment for your orchid’s success. Let’s break down the essentials and why each matters.
- Pot: Choose a container with a diameter just big enough to accommodate your orchid’s roots comfortably—typically between 10–15 cm (4–6 inches) for most household orchids. Ensure it has ample drainage holes; orchids are highly sensitive to waterlogged roots, so standing water is a no-go. Clay pots are a fantastic eco-friendly choice, especially if your space tends to get warm, as their porous nature helps keep roots cooler and encourages airflow.
- Substrate: Use an orchid-specific mix—typically a blend of chunky bark, perlite, and sphagnum moss. The ideal composition is about 70% bark to maintain aeration and 30% moss to retain moisture, with some perlite for drainage and breathability. The substrate’s pH should range between 5.5 and 6.5, slightly acidic, to optimize nutrient uptake. Avoid dense, regular potting soil at all costs; it suffocates the roots and causes rot.
- Light: Orchids crave bright but filtered light—seek about 6–8 hours of bright indirect light per day or around 10,000–20,000 lux. If placing near a south or west-facing window, diffuse the sunlight with a sheer curtain to prevent scorching.
- Humidity: Orchids flourish in a relative humidity of 50–70%. This can often be higher than ambient home conditions, so it may be necessary to use humidity trays filled with water and pebbles, group your orchids together, or use a small humidifier, especially in periods of dry indoor air.
- Temperature: Aim for daytime temperatures between 18 and 24°C (65–75°F). Night temperatures should not drop below 13°C (55°F). This temperature range mimics their tropical origins and supports flowering cycles.
- Fertilizer: Opt for a balanced liquid fertilizer with an N-P-K ratio of 20-20-20, diluted at 1:10 strength. This promotes healthy leaf and root growth. Apply every 3–4 weeks. If you prefer an eco-friendly choice, look for organic orchid fertilizers based on seaweed extracts or fish emulsion, but still follow dilution and frequency guidelines.
Read Next: Keeping Your ZZ Plant Healthy in Low Light
Step-by-Step Care Routine
1) Understanding the Plant’s Cycle
Before you start caring for your orchid, it’s vital to understand its natural growth rhythm. Orchids alternate between active growth (leaf and root development) and rest phases. After blooming, the plant enters a recovery period focused on strengthening leaves and roots to support future flowers. During this time, your care should shift away from heavy watering or fertilization and toward patience and moderation.
I’ll share an experience: I once watered my orchid daily right after blooming, believing it would spur another flower spike sooner. Instead, I nearly drowned the roots, causing stress and leaf yellowing. This showed me that flowers demand different care, and respecting the orchid’s rest can lead to more resilient, longer-lasting blooms.
2) The Right Pot and Substrate
Choosing the appropriate pot and medium isn’t just about aesthetics; it’s about root health and longevity. You should consider repotting only when necessary.
How to know if your orchid needs repotting? Inspect the substrate: if the bark has decomposed into mushy bits, it no longer provides the vital airflow and drainage roots require. Also, check if roots are crowded or circling excessively around the pot edges. Healthy orchid substrate feels airy and light to the touch—never soggy or compacted. Keep in mind, a common mistake is using regular potting soil or peat moss, which holds too much moisture and suffocates roots, inviting rot.
If roots are firm, turgid (plump, not shriveled), and the medium smells fresh (not sour or moldy), your orchid can stay put a little longer. Always prefer smaller pots that fit the root system snugly; orchids bloom better when their roots feel somewhat contained.
3) Watering the Smart Way
Watering orchids correctly is probably the most critical—and sometimes most confusing—aspect of their care. The rule isn’t about a rigid schedule, but knowing when your plant truly needs a drink.
Here’s the golden routine: water thoroughly once a week (adjust for your climate and season), ensuring water flows freely through the drainage holes. Do this when the top 2–3 cm of potting medium feels dry to the touch. Feel the substrate gently with your finger—it should be dry on top but can remain slightly moist deeper down.
Always use lukewarm, soft water—rainwater or filtered water is best, as tap water may contain salts or chlorine harmful to roots. After watering, let the pot drain completely; never let your orchid sit in standing water as their roots breathe better with consistent airflow and drying cycles.
Here’s a helpful tip: pick up the pot before and after watering to sense its weight. When dry, the pot feels significantly lighter; when wet, it gains weight. Use this “weight test” to avoid overwatering.
Adjust watering frequency by season. In warmer months, your orchid may need a little more water, while in winter, slow the routine to every 10–14 days.
4) Light, Temperature, and Humidity Balance
Orchids are tropical plants adapted to dappled sunlight filtering through canopy leaves. That means they require bright but indirect light to thrive. Placing your orchid near an east-facing window offers ideal morning sun—gentle, nourishing light that won’t burn its leaves. Rotate the pot weekly to promote even growth and avoid one-sided stretching.
Your orchid’s leaves can speak volumes: if their tips start yellowing or the leaves wrinkle and feel leathery, the plant may be getting too much sun or not enough humidity. A quick fix is to move it slightly away from direct light and boost humidity to around 60%. You can raise humidity with pebble trays, grouping plants, or using a humidifier.
Keeping daytime temperatures stable between 18 and 24°C (65–75°F) and nighttime temperatures consistently above 13°C (55°F) will encourage steady, stress-free growth and prolonged flowering.
5) Feeding and Fertilization
Like any living thing, orchids rely on a balanced diet to bloom and grow vigorously. Use a balanced liquid fertilizer with an N-P-K ratio of 20-20-20, diluted to one-tenth strength, applied every 3–4 weeks. Fertilizing during active growth phases supports leaf and root development, allowing for robust flower spikes later.
Pause feeding completely over your orchid’s winter dormancy to avoid forcing growth during its natural rest. Signs your plant wants food include pale, faded leaves and slowed growth. Conversely, a white crust on the substrate’s surface signals excess fertilizer salts, which stress the orchid’s roots. Flush the pot monthly with clean water to wash out accumulated minerals and keep the roots healthy.
6) Pruning, Cleaning, and Post-Bloom Maintenance
Pruning after flowering is a delicate but crucial practice. If your orchid’s flower spike is still green and vibrant, you can trim it about 1 cm above a healthy node to encourage a secondary bloom. Brown, dried-up spikes should be cut at the base to prevent disease. Always sanitize your shears with isopropyl alcohol before use to avoid spreading pathogens.
Dust gently accumulates on orchid leaves, reducing their ability to photosynthesize efficiently. Wipe leaves every two weeks with a soft, damp cloth. This little routine enhances leaf shine, keeps pests at bay, and lets you inspect your plant’s health up close.
I’ve learned firsthand: “The secret isn’t doing more — it’s observing better.” Taking time to look closely at your orchid often reveals subtle needs early, avoiding bigger problems.
7) Repotting — Only If Needed
Repotting orchids overwrought with unhealthy roots or broken-down substrate is essential but should only be done when necessary to reduce stress. Wait until you notice the bark turning soggy or roots circling aggressively. Sometimes this happens every 12 to 24 months, depending on your environment.
When repotting, choose a pot no more than 2–5 cm (1–2 inches) larger than the current one. Carefully remove old medium, trim away dead or mushy roots with sterilized scissors, and place the orchid snugly in the fresh substrate. This reaffirms air circulation and drainage around the roots, vital for continued health.
8) Propagation and Renewal (If Applicable)
While orchids may look intimidating to propagate, division during repotting is the safest method. When your orchid produces multiple pseudobulbs, carefully separate the plant so each division has at least 2–3 pseudobulbs with attached roots. Make sure to maintain warm conditions between 18–24°C and humidity around 60% while divisions establish themselves. This renews your collection and prompts vigorous blooms in subsequent seasons.
Common Problems and How to Fix Them
- Yellow leaves: Usually a sign of overwatering or insufficient light. To fix, ensure your orchid receives 6–8 hours of bright indirect light daily, and only water when the top 2–3 cm of substrate is dry.
- Brown tips: This points to low humidity or inconsistent watering. Raise humidity to 60–70% by using more frequent misting, pebble trays, or a humidifier.
- No blooms: Often the result of weak light or inadequate feeding. Move your orchid closer to a bright window and consider switching to a bloom booster fertilizer with a higher phosphorus value, such as 10-30-20.
- Root rot: Caused by soggy substrate and poor drainage. Gently unpot your orchid, trim away blackened or mushy roots, replace the potting mix, and reduce watering frequency.
- Pests: Mealybugs, spider mites, and scale can be persistent. Treat weekly with neem oil or insecticidal soap and improve airflow around your orchid to keep these pests at bay.
Seasonal Adjustments
Your orchid’s needs will slightly fluctuate with the seasons, and tuning into these rhythms is key to sustained health and flowering. In summer, raise humidity naturally by increasing watering frequency and grouping plants closer together to create a microclimate. Conversely, in winter, reduce watering to once every 10–14 days, pause fertilization, and protect your orchid from cold drafts or heating vents that can dry the air.
Small seasonal tweaks like these minimize stress and keep your orchid in balanced growth year-round, quietly setting the stage for next season’s spectacular blooms.
Quick Facts — Your Key Numbers
- Light: 6–8 hours bright, indirect (10,000–20,000 lux).
- Watering: Thoroughly once weekly; water only when the top 2–3 cm of substrate is dry.
- Humidity: Maintain 50–70% relative humidity.
- Temperature: Daytime between 18–24°C (65–75°F), nights above 13°C (55°F).
- Fertilizer: Balanced 20-20-20 diluted 1:10, applied every 3–4 weeks.
- Repotting: Only when substrate breaks down or roots overflow, every 12–24 months.
Checklist for Success
- Provide bright but indirect light for 6–8 hours; rotate your orchid weekly.
- Ensure the pot drains well; never allow water to pool beneath roots.
- Maintain steady humidity between 50–70% with proper airflow.
- Fertilize sparingly and regularly; flush the pot monthly with plain water.
- Observe roots regularly; healthy roots are firm, fleshy, and green.
- Cut old flower spikes only when fully browned or to just above a green node.
- Repot only when the substrate fails or roots become overcrowded, not out of routine.
Continue Reading: Simple Tips to Keep Your Bamboo Palm Thriving
Final Words of Advice
Caring for an orchid is less about aiming for perfection and more about embracing steady, thoughtful routines. Your orchid is an invitation to slow down and learn the language of patience—a language spoken in leaf color, root firmness, and spikes’ delicate shapes. The best gardeners are those who observe closely and respond kindly. Each orchid teaches its keeper in quiet ways, rewarding those who listen with breathtaking, long-lasting blooms.
Remember, your journey with orchids is ongoing. Every subtle change you notice brings you closer to mastery. Keep going, and you’ll soon find the satisfaction of watching your orchids not only bloom but thrive beautifully season after season.

Hi there — I’m Kyla, the creator behind Kyla Garden Tips 🌿
I’ve always been passionate about plants, flowers, and the simple joy that comes from growing something beautiful. What started as a small balcony garden has turned into a love for helping others create their own green spaces — no matter how big or small.