
Why Grow Guava in Pots? Discover Tropical Flavor Anywhere
Growing guava in pots is a fantastic way to bring a taste of the tropics right to your doorstep—even if you have just a balcony or a small patio. Guava trees thrive in containers, offering you glossy green leaves, fragrant white flowers, and delicious fruit without needing a vast garden. Plus, you can control their environment closely, adapting to your local climate and space.
You don’t need a tropical paradise or acres of land to enjoy fresh guava. With clear, practical steps and a bit of attention, you’ll nurture your own fruit right at home. In this guide, I’ll walk you through everything—from pot choice to harvesting, with solutions tailored exactly for container growing. Prepare to turn your space into your personal exotic orchard—you’ve got this.
Getting Ready — What You’ll Need
Before you start, gather these essentials to set your guava up for success:
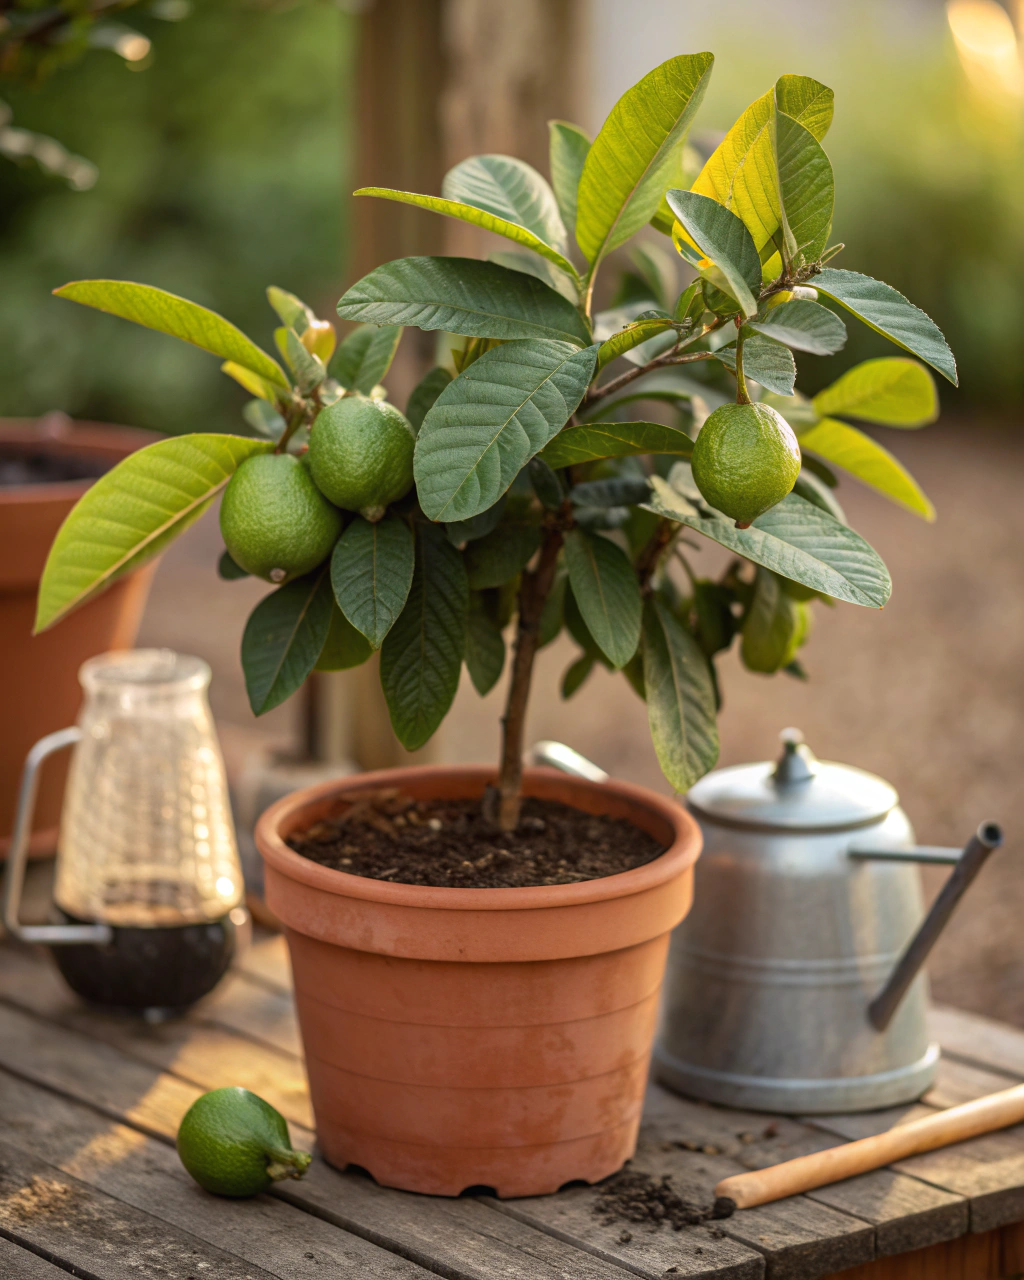
- Container: At least 40–50 cm (16–20 in) diameter and 40 cm (16 in) deep. Bigger is better for fuller growth. Terracotta or ceramic pots are ideal because they breathe. (If your area is very hot, clay pots help keep roots cool.)
- Potting Soil: A well-draining mix of 70% loam, 20% compost, 10% coarse sand or perlite. Guava prefers slightly acidic to neutral soil, pH 5.5–7. Avoid heavy clay alone, which restricts airflow.
- Guava Seedlings or Seeds: Choose varieties suited for containers like ‘Ruby Supreme’, ‘Tropical White’, or ‘Red Malaysian’. Seedlings give faster fruiting, but seed-growing is rewarding.
- Fertilizer: Balanced, low-nitrogen organic fertilizer or liquid seaweed solution. (You’ll feed approximately every 3–4 weeks.)
- Watering Can or Hose: With a gentle spray nozzle to avoid soil disturbance.
- Pruning Shears: For shaping and thinning branches.
- Sunlight: Guava needs 6–8 hours of full sun. Direct southern or western exposure is best.
- Optional: Mulch like straw or dry leaves helps keep moisture and temperature steady.
Eco-friendly substitute tip: If buying commercial soil is pricey, you can blend garden soil with compost and sand yourself—just ensure it drains fast but holds adequate moisture.
You may also like: How to Grow Cantaloupe in Pots for Sweet Summer Vibes
Step-by-Step — How to Grow Guava in Pots
1. Preparing Your Pot
Start by thoroughly cleaning your pot with hot soapy water to avoid diseases. Check that your container has multiple drainage holes—without them, roots drown. Position a 3–5 cm (1–2 in) layer of coarse gravel or broken pottery shards at the bottom to promote drainage.
Next, prepare your soil mix. Combine 70% loam for nutrients, 20% rich compost to feed your plant as it grows, and 10% sand or perlite for aeration. Fill your pot about 3–5 cm (1–2 in) below the rim so you can water without spillover.
Moisture should feel like a sponge wrung out — damp but not soggy. Avoid packing soil too tightly; roots need air to breathe, or they’ll suffocate and stunt growth. One common mistake is ignoring drainage; if water pools on top or leaks slowly, adjust the soil mix or add more holes.
2. Sowing or Planting
Plant guava seeds about 0.5–1 cm (¼–½ in) deep to encourage germination. If sowing seeds, soak them in water overnight to soften the hard shell—this speeds up sprouting. Keep soil temperature steady between 22–28°C (72–82°F), ideally warm and humid for best results. Seedlings can be transplanted directly, spacing only one plant per pot to prevent root competition.
You’ll know you’re on the right track when your seedling’s first set of leaves feels tender, light green, and the soil stays consistently moist but not wet. A pro tip: Cover newly sown seeds lightly with transparent plastic wrap or a humidity dome to retain moisture until germination (10–14 days).
3. Watering and Sunlight
Water deeply so the moisture reaches the root zone—expect to water about 2–3 times per week in warm weather but adjust based on soil feel. You want the top 2 cm (¾ in) to dry out between waterings to prevent root rot. Visual cue: soil should look dark and moist but not muddy.
During particularly hot or windy days, cluster your pots to create micro-humidity and reduce water loss. Mulching with straw or leaves also keeps moisture steady and cools roots. Guava thrives in 6–8 hours of direct sunlight daily; if you are in cloudy zones, move pots to the sunniest window or use supplemental grow lights.
4. Feeding and Maintenance
Feed your guava with a balanced organic fertilizer every 3–4 weeks or spray a diluted seaweed solution for minerals. Avoid high nitrogen fertilizers, which cause leafy growth but poor fruiting. Prune lightly after flowering to shape the tree and remove dead or crowded branches — this improves airflow and sunlight penetration, which promotes healthy fruit set.
Always check soil aeration: gently probe with your finger; overly dense soil means it’s time to re-pot or amend with sand. If you notice yellowing leaves or weak stems, adjust feeding or check watering habits. As one gardener said, “The secret is not more work—it’s regular care and observation.”
5. Troubleshooting While They Grow
If leaves turn pale or yellow, it’s often a nutrient imbalance—try adding compost or a liquid seaweed foliar feed. Stunted plants usually indicate poor drainage or insufficient light; move your pot to a sunnier spot and check holes aren’t clogged. Watch for pests like aphids and scale insects; wipe leaves with mild soapy water or neem oil as soon as you spot them.
Soil that stays soggy? Double-check that drainage layer and soil mix. Roots need to breathe; soggy roots mean rot will take hold fast. If growth is delayed, ensure you’re sowing seeds at the correct depth (never deeper than 1 cm) and keep soil consistently warm.
6. Harvesting
Your guava fruit will be ready to harvest typically between 70–90 days after flowering, depending on variety and conditions. Look for fruit that changes from deep green to pale yellow or light green with a faintly soft touch (about the firmness of a ripe peach). Ripe guavas give off a sweet, musky aroma you can smell before you see.
To harvest, gently twist or cut the fruit from the branch — avoid yanking to protect stems and future flower buds. For best flavor, reduce watering in the last 7 days before harvesting; this concentrates sugars in the fruit.
Store guavas in a dark place between 4–7°C (39–45°F) and 80% humidity for up to 2 weeks. Alternatively, slice and freeze fruit, or preserve it by drying or pickling.
Extra Tips for Perfect Results
- Use companion plants like basil, marigold, and nasturtiums to help repel pests and attract beneficial insects.
- Rotate your pots each season to prevent soil fatigue and replenish nutrients evenly.
- Mulch around the base with straw or dry leaves—this keeps humidity steady and protects roots from sudden temperature changes.
- Prefer rainwater over tap water where possible; tap water mineral build-up can harden your soil over time.
- In windy areas, cluster pots tightly together to improve stability and create a shared microclimate that retains moisture.
- Under intense midday sun, use lightweight shade fabric for 2–3 hours to prevent leaf scorching.
Common Mistakes and How to Fix Them
- Overwatering: Roots become soft and rot — let the top 2 cm dry before watering again.
- Weak growth: Low light — move pots to a sunnier location or increase artificial light intensity.
- Yellow leaves: Excess nitrogen — switch to fertilizer higher in phosphorus to promote flowering and fruit.
- Poor germination: Seeds planted too deep — keep sowing depth under 1 cm to allow shoot emergence.
- Misshapen roots: Compacted soil — amend with 10% coarse sand or perlite each season to improve airflow around roots.
Harvest and Storage
When harvesting, handle fruit gently; ripening guava skin bruises easily. Use clean scissors or pruners to snip fruit, avoiding tugging which can damage the stem and reduce the tree’s next yield.
Store guavas in a dark, cool spot at around 4–7°C (39–45°F) with about 80% humidity. They will keep fresh for up to 2 weeks. Freezing slices in airtight containers works well for longer storage, or dry thin slices in a dehydrator to make guava chips.
Save seeds by scooping from ripe fruit, rinsing well, and drying on paper towels for 2–3 days. Store seeds in a breathable container, away from light and moisture for next growing season.
What Success Looks Like
When you finally hold your first firm, fragrant guava, there’s a moment of quiet satisfaction—a testament to your patience and care. The lightly grainy flesh gives way to sweet, fragrant citrus notes that remind you tropical flavors aren’t just store-bought.
A well-cared-for pot yields roughly 1–2 kg (2–4 lb) of fruit per season, enough for fresh eating, preserves, or sharing. What you gain isn’t just fruit but a connection to nature’s rhythms that rewards observation and consistency.
Mini Recap — Your Success Checklist
- Pot depth: Minimum 30 cm (12 in).
- Soil mix: 70% loam, 20% compost, 10% sand.
- Watering: 2–3 times per week, based on soil moisture.
- Sunlight: At least 6–8 hours daily.
- Fertilizer: Every 3–4 weeks, low nitrogen.
- Harvest: Usually between 70–90 days after flowering.
Further Reading: How to Grow Tea Plants in Containers
Closing Reflection
Remember, growing guava in pots isn’t about perfection. It’s about small, consistent acts of care—watering just enough, checking leaves attentively, and tuning into your plant’s needs. Each season teaches you more and brings you closer to your tropical bounty. Don’t rush, observe patiently, and savor every fragrant moment. That’s what makes you a true gardener.

Hi there — I’m Kyla, the creator behind Kyla Garden Tips 🌿
I’ve always been passionate about plants, flowers, and the simple joy that comes from growing something beautiful. What started as a small balcony garden has turned into a love for helping others create their own green spaces — no matter how big or small.