
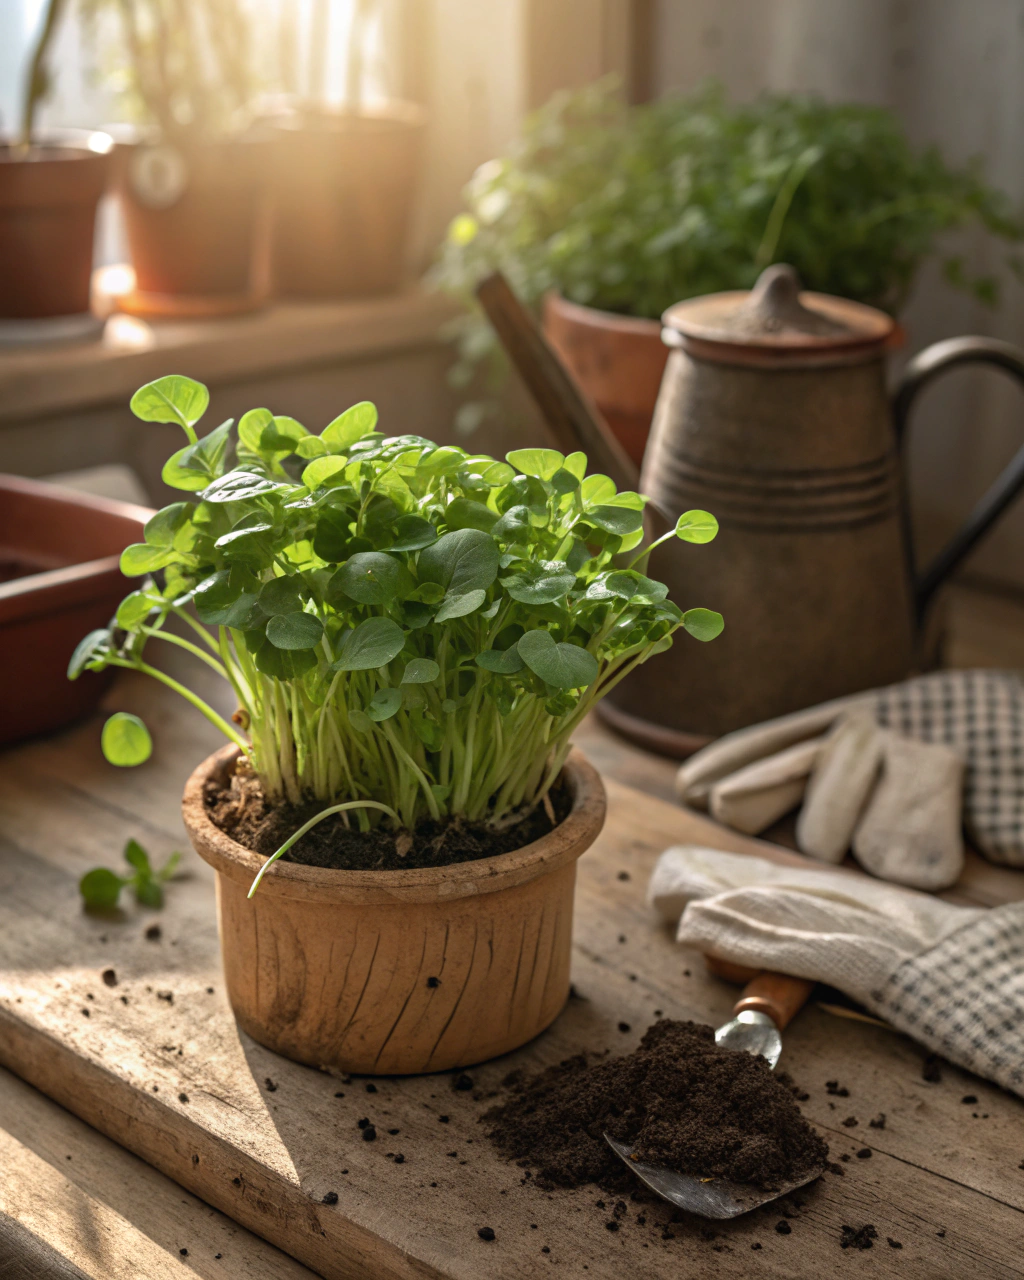
Why Grow Watercress Indoors? Your Mini Green Powerhouse
If you’ve ever wondered whether you can grow a fresh, peppery, nutrient-packed green right on your windowsill or balcony, the answer is yes—and it’s watercress. This little powerhouse thrives in pots and demands surprisingly little space or fuss. You’ll enjoy crunchy, vibrant leaves rich in vitamins A, C, and K, plus minerals like calcium and iron, all year round. Even if your outdoor garden is small—or non-existent—growing watercress indoors offers a rewarding, continuous harvest. It’s fast-growing, sophisticated in flavor, and brings a splash of fresh green to your kitchen. Follow my clear steps, and I promise you’ll be feeling confident and capable, even if this is your very first potted herb project.
Getting Ready — What You’ll Need
Before you start, gather these essentials to set yourself up for success:
- Containers: Choose pots at least 30 cm (12 in) deep with drainage holes. Watercress likes consistent moisture, but roots must never sit in water. (If your space is warm, clay pots help keep roots cool.)
- Soil: A loose, fertile mix—about 70% loam, 20% compost, and 10% coarse sand or perlite. Watercress prefers slightly acidic to neutral pH 6.5–7.0. Avoid heavy clay soils that compact easily.
- Watercress seeds or starter plants: You can start from seeds or cuttings. Seed packets typically list varieties like ‘Garden Watercress’ or ‘True Watercress’. For beginners, starter plants give a faster jumpstart.
- Fertilizer: Choose a balanced, low-nitrogen option such as a 10-20-10 NPK mix or organic liquid seaweed fertilizer. Watercress thrives with moderate feeding.
- Light source: A sunny windowsill with 6–8 hours of natural sunlight daily—or use a full-spectrum LED grow light for about 12–14 hours.
- Water: Use fresh, clean water—ideally rainwater or filtered—to prevent soil hardening. Avoid water that is chlorinated or heavily mineralized.
- Tools: A small hand trowel, watering can with a fine rose, and clean pruning scissors.
(Pro tip: If budget is tight, repurpose any container with drainage holes—an old ceramic bowl, a large plastic bucket, or even a clean window box works.)
Check Also: How to Grow Microgreens in Containers for Fresh Nutrition
Step-by-Step — How to Grow in Pots
1. Preparing Your Pot
Start by thoroughly cleaning your pot with warm soapy water to remove any pathogens or salt buildup from previous use. This step helps prevent fungal diseases.
Next, create a drainage layer at the bottom using coarse gravel, small stones, or broken pottery shards about 3–5 cm (1–2 inches) deep. This layer stops waterlogging, which leads to root rot.
Fill the pot with your well-mixed soil blend (70% loam, 20% compost, 10% sand or perlite) up to about 3 cm (1 inch) below the rim. Gently firm the soil without compacting it—your goal is soil as moist and springy as a “wrung-out sponge.” If it feels clumpy or hard, mix in extra sand or perlite.
Avoid these mistakes: don’t use a pot without drainage holes, don’t pack soil too tightly, and don’t plant in strongly alkaline or heavily acidic soil. Watercress roots need oxygen to thrive.
2. Sowing or Planting
If you’re sowing seeds, sprinkle them thinly on the soil surface, then cover lightly with about 0.5–1 cm (¼ inch) of fine soil or vermiculite. Optimal germination temperature is between 15–20°C (59–68°F). Before sowing, soak seeds in warm water for 4–6 hours to soften the tough outer shell and speed up germination.
The soil should feel lightly moist but not soggy. You’ll begin to see tiny green shoots within 7–14 days. When seedlings appear, keep them spaced about 5 cm (2 inches) apart, thinning any overcrowded spots.
(Pro tip: To improve germination, cover your pot with a clear plastic lid or cling film for the first week, then gradually remove it to acclimate seedlings.)
3. Watering and Sunlight
Watercress loves moisture, but its roots hate standing water. Water deeply and evenly so the soil stays moist—aim for watering about 2–3 times per week in warm, dry conditions. Check by feeling the surface—if the top 2 cm (1 inch) feels dry, it’s time. Stop watering if the soil is soggy or smells sour.
In hot or windy spots, group pots together to conserve humidity and reduce evaporation, or add a thin layer of straw mulch to hold soil moisture. If the sun is very strong, provide partial shade during midday hours with light fabric.
Your watercress needs 6–8 hours of bright, indirect sun every day to grow robust, peppery leaves. If you live in a cloudier area, supplement natural light with LED grow lights set for 12–14 hours daily.
4. Feeding and Maintenance
Feed your watercress every 3–4 weeks using a balanced fertilizer with moderate nitrogen and good phosphorus and potassium—this supports healthy leaf growth and root development. Liquid seaweed or fish emulsion work wonderfully.
Thin seedlings early to leave space for each plant to reach about 10 cm (4 inches) wide. Prune regularly by harvesting the top leaves to encourage bushiness and prevent legginess.
Check soil aeration by gently loosening the surface with a fork every few weeks; compacted soil suffocates roots.
“The secret is not more work—it’s regular care and observation.” Watching your plants daily helps catch issues early and build a rhythm of care.
5. Troubleshooting While They Grow
Keep an eye out for common problems:
- Yellow leaves: This often means excess nitrogen or poor drainage—either reduce fertilizer or improve soil structure.
- Slow or stunted growth: Usually from insufficient light—move pots to a sunnier spot.
- Wilting or soggy roots: Overwatering is a likely cause; let soil dry slightly between waterings and ensure drainage.
- Seedlings failing to emerge: Check sowing depth—seeds too deep (more than 1 cm) won’t sprout well.
- Pests like aphids: Spray gently with a mix of water and mild dish soap, or remove manually.
6. Harvesting
Your first harvest comes between 70–90 days after sowing. Leaves should be deep green and feel crisp with a bit of snap when pinched. The stems are firm but tender—not woody or brittle.
Harvest by snipping the top few centimeters of growth with scissors. If you prefer to pull plants entirely, do so gently, feeling for the firm root grip in the soil. You’ll hear a soft snap as the stem separates.
For better flavor, reduce watering during the last week to encourage a concentrated, peppery taste.
Store harvested watercress in a dark, cool place at about 4–7°C (39–45°F), wrapped loosely in damp paper towels inside a perforated plastic bag—this keeps it fresh for up to 2 weeks.
Extra Tips for Perfect Results
- Plant companion herbs like basil, chives, or mint nearby—they repel pests and enhance growth.
- Rotate pots to different spots each season to prevent nutrient depletion and soil fatigue.
- Mulch with straw or shredded leaves to hold humidity and reduce watering frequency.
- Whenever possible, water with collected rainwater; hard tap water can build soil salts that inhibit growth.
- In windy environments, cluster your pots together for mutual protection and moisture retention.
- If sunlight is intense in summer, use a sheer fabric shade during hottest hours to prevent leaf scorch.
Common Mistakes and How to Fix Them
- Overwatering: Watch for soft roots and waterlogged soil. Let the top 2 cm dry before watering again.
- Too little light: Weak, spindly plants need a sunnier spot immediately.
- Too much nitrogen fertilizer: Leads to yellow leaves and floppy stems. Switch to higher phosphorus formulas.
- Planting seeds too deep: Keep beneath 1 cm and not more, or they won’t germinate.
- Compacted soil: Causes misshapen roots; always mix in coarse sand or perlite for better airflow.
Harvest and Storage
Harvest watercress by trimming the top portion or gently pulling entire plants while keeping roots intact if you want continual regrowth. The leaves should be snappy green with a fresh, crisp aroma.
Store in a cool, moist environment—wrap in damp paper towels placed inside a perforated plastic bag. Keep at 4–7°C (39–45°F) so leaves stay fresh for up to 2 weeks.
Alternatively, freeze harvested leaves immediately to preserve nutrients, or dry them lightly for tea blends. Pickling is great for extending shelf life with a tangy twist.
Don’t forget to save seeds from mature plants. Simply let seed heads dry in a paper bag indoors, then gently crush to collect them for next season.
What Success Looks Like
There’s something quietly satisfying about pulling your first firm, fragrant watercress leaf and tasting that fresh peppery burst. In a single container, you can expect between 1–2 kg (2–4 lb) of greens over the growing season—more if you stay consistent with watering and feeding.
It’s not just about the harvest, but your daily connection with this lively green—observing those subtle growth changes, the soft rustle of leaves in a light breeze, and the clean, sharp scent when crushed between fingers. This relationship builds your confidence and joy as a gardener.
Mini Recap — Your Success Checklist
- Pot depth: Minimum 30 cm (12 in).
- Soil mix: 70% loam, 20% compost, 10% sand.
- Watering: About 2–3 times per week, adjusting by touch.
- Sunlight: 6–8 hours daily.
- Fertilizer: Every 3–4 weeks, not too high in nitrogen.
- Harvest: After 70–90 days.
Continue Reading: Sage in Containers: A Classic Herb for Compact Gardens
Closing Reflection
Remember, no one starts out perfect—growing watercress is more about steady attention than perfection. Each morning you check soil moisture, each time you thin seedlings, you’re building a gardener’s instinct. “Every plant you grow teaches you something new. Don’t rush it—watch, adjust, and enjoy. That’s what makes you a gardener.” So take your time, feel the soil between your fingers, inhale the clean scent of fresh greens, and enjoy the process as much as the harvest.

Hi there — I’m Kyla, the creator behind Kyla Garden Tips 🌿
I’ve always been passionate about plants, flowers, and the simple joy that comes from growing something beautiful. What started as a small balcony garden has turned into a love for helping others create their own green spaces — no matter how big or small.