
Why Grow Stevia in Containers? A Natural Sweetness at Home
Stevia is a remarkable plant that brings natural sweetness right to your fingertips. If you’ve ever wished to reduce sugar without sacrificing flavor, growing stevia is your answer. You can do this easily, even if all you have is a small balcony, patio, or windowsill. Stevia thrives in containers, sparing you the need for a garden plot but delivering fresh, vibrant leaves perfect for teas, baking, and cooking. With clear, practical steps ahead, you’ll see how simple it is to cultivate this subtly sweet herb, tackling common issues like space limits, soil care, and pests — making it an accessible, rewarding project.
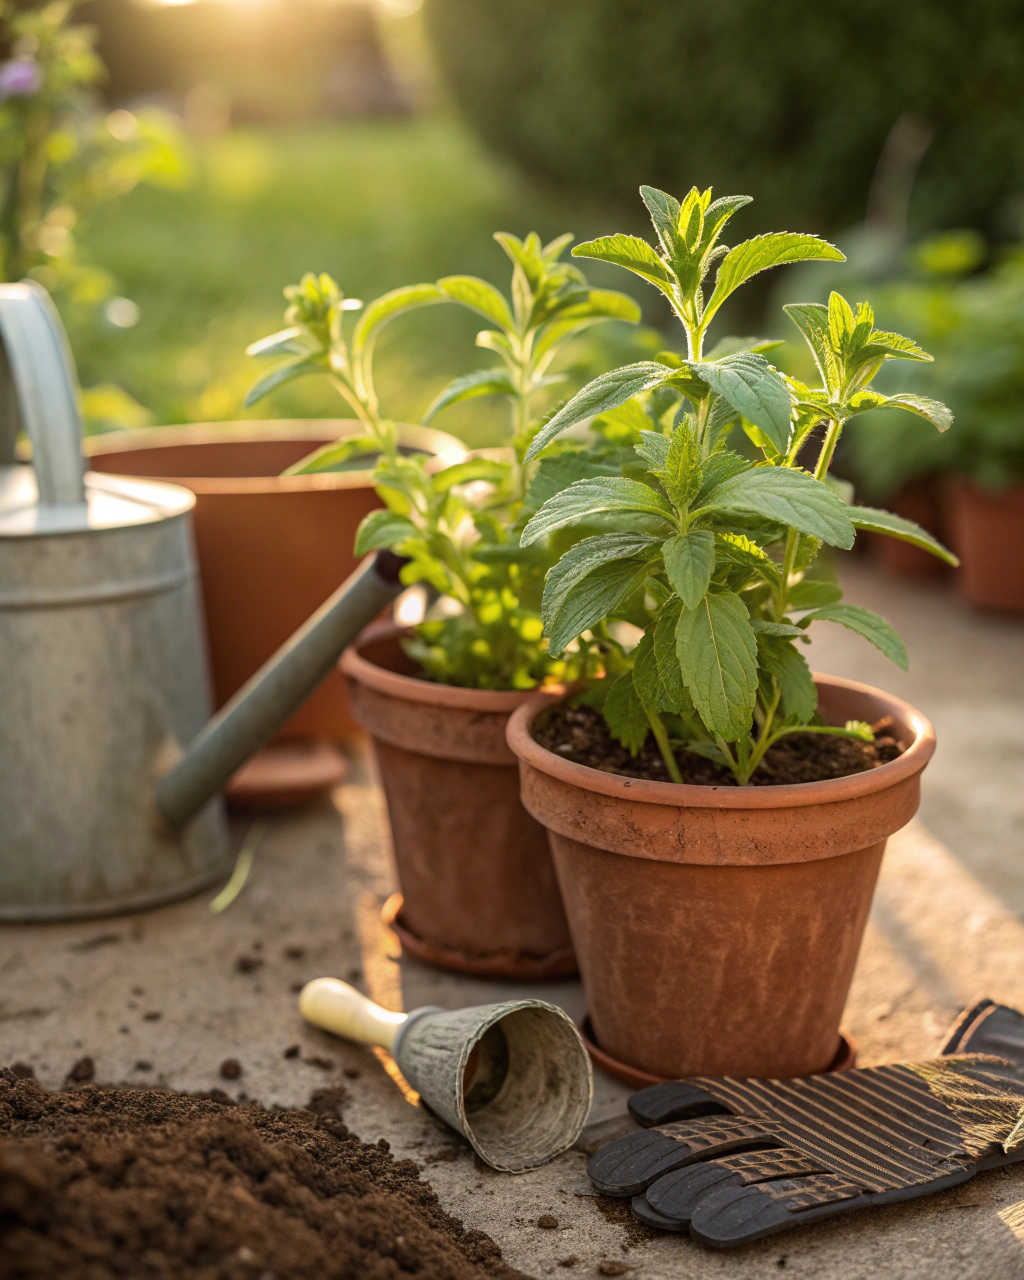
Getting Ready — What You’ll Need
Before you plant your stevia, gather these essentials to set yourself up for success. Each item plays a role in creating the perfect environment for growth.
- Container: Choose pots at least 30 cm (12 inches) deep with good drainage holes. (If you live in a very hot climate, a clay pot helps keep roots cooler.)
- Soil: Use a light, well-draining mix with 70% loam, 20% compost, and 10% coarse sand or perlite. This ensures moisture retention without waterlogging.
- Fertilizer: Opt for a balanced, low-nitrogen fertilizer such as a 5-10-10 NPK ratio. Organic options include fish emulsion or compost tea.
- Seeds or Seedlings: Start with high-quality stevia seeds or nursery seedlings of varieties like Stevia rebaudiana ‘Morita’ or ‘E111’. Seedlings give a head start if you want quicker results.
- Watering can or spray bottle: For controlled moisture without washing away seeds or soil.
- Grow light (optional): If natural light is limited, a full-spectrum LED grow light providing 12–14 hours daily helps mimic sun.
- Basic gardening tools: Small trowel, hand fork, and gloves to make planting easier and keep you comfortable.
(Eco-friendly tip: recycle old containers or make your own soil mix from kitchen scraps composted over several months.)
Step-by-Step — How to Grow Stevia in Pots
1. Preparing Your Pot
Start by cleaning your pot thoroughly to remove pathogens. Use hot, soapy water and rinse well. Dry it in the sun if you can, as heat kills lingering fungi or bacteria.
Next, create a drainage layer of about 2–3 cm (1 inch) using broken terracotta shards, small stones, or coarse gravel. This prevents water from pooling at the bottom, avoiding root rot.
Fill the pot with your prepared soil mix, lightly firming it but not compacting it solidly. The soil should have the texture of a sponge wrung out — moist but not soggy. Avoid packing it too tightly, as compact soil hinders root breathing and growth. Ensure your pot has enough holes to allow water to drain freely, or the roots will suffocate.
2. Sowing or Planting
If starting from seeds, plant them at a shallow depth of no more than 0.5–1 cm (¼ inch). Stevia seeds need light to germinate, so barely cover them with soil. Space seed clusters approximately 5 cm (2 inches) apart to avoid overcrowding.
Pre-soaking seeds overnight in lukewarm water at about 21–24°C (70–75°F) softens the seed coat and improves germination rates. When conditions are right, you’ll see tiny green sprouts piercing the topsoil in 7–14 days, feeling firm when gently touched.
Pro tip: Cover the pot with a clear plastic wrap or dome to keep humidity high until germination, but open it daily to prevent mold.
For seedlings, dig holes the same depth as the root ball and plant each seedling with at least 15 cm (6 inches) spacing. Firm soil gently around roots, then water to settle the earth.
3. Watering and Sunlight
Stevia loves consistent moisture but hates soggy roots. Water deeply until you see moisture drain from the pot base — generally about 2 to 3 times per week in warm weather. Check soil moisture with your finger: if the top 2 cm (¾ inch) feels dry, it’s time to water.
In hot, dry, or windy conditions, group your pots close together to create a mini microclimate that retains humidity. Mulching the soil surface with a thin layer of straw or shredded leaves helps maintain even moisture. In extreme heat, move pots to partial shade during midday to prevent leaf scorch.
Stevia requires bright light — ideally 6–8 hours of direct sunlight daily. If you live in consistently cloudy zones, supplement with grow lights for best growth. Rotate pots weekly to ensure even exposure and prevent leaning.
4. Feeding and Maintenance
Feed stevia every 3–4 weeks with a balanced fertilizer low in nitrogen but rich in phosphorus and potassium, like a 5-10-10 NPK. Too much nitrogen encourages lush foliage but can weaken the flavor.
Thin seedlings early by snipping less vigorous ones at soil level when they’re about 5 cm (2 inches) tall, ensuring each plant has enough space to develop without competition.
Regularly inspect the soil surface. If you notice crusting, gently loosen the topsoil with a small fork to maintain aeration. Check leaves for pests or discoloration—early intervention is critical.
As one gardener observes, “The secret is not more work — it’s regular care and observation.” By spending just minutes a day looking closely at your plants, you’ll catch small problems before they become big ones.
5. Troubleshooting While They Grow
Yellow leaves often signal excess nitrogen fertilizer or poor drainage. To fix this, switch to a fertilizer with a higher phosphorus ratio and ensure your pot isn’t waterlogged.
Stunted growth could mean insufficient light; move your pot to a sunnier spot.
Leaf spots or sticky residue can indicate pest activity, such as aphids or spider mites. Spray plants gently with insecticidal soap or rinse leaves with water to dislodge pests.
If your seedlings are slow or uneven to emerge, check watering habits: soil too dry or too waterlogged slows germination. Adjust watering frequency accordingly.
6. Harvesting
Stevia leaves develop their sweetest flavor when the plant is mature — about 70–90 days after sowing. You’ll notice leaves thickening to a deep green with a slightly glossy texture. The leaves should feel firm and fragrant when crushed gently between fingers, releasing a fresh, honeysuckle-like aroma.
For the best sweetness, reduce watering during the final week before harvest. This concentration technique makes your leaves more intensely flavored.
Harvest by snipping leaves or whole stems just above a set of healthy leaves. Avoid pulling plants out to preserve ongoing harvests.
For storage, place fresh leaves in a sealed container in a dark location at around 4–7°C (39–45°F). They will last up to 2 weeks. To preserve longer, dry leaves out of direct sunlight or freeze them in airtight bags.
Extra Tips for Perfect Results
- Plant companions like basil, marigold, lemon balm, and nasturtium nearby—these can repel pests naturally and improve soil health.
- Rotate your pots each growing season to reduce soil fatigue and keep your stevia healthy.
- Mulch with straw, shredded leaves, or coconut coir to keep soil humidity stable and suppress weeds.
- Use collected rainwater when possible; tap water often contains minerals that can harden soil over time.
- In windy sites, cluster pots together. This not only protects fragile stems but also helps maintain moisture levels.
- If your location experiences hot midday sun, cover your plants with a thin fabric shade between 12 pm and 3 pm to prevent burnout.
Common Mistakes and How to Fix Them
- Overwatering: Stevia roots become soft and rot. Solution: let the top 2 cm (¾ inch) of soil dry out before watering again.
- Weak growth: Too little light. Move pots to a sunnier spot providing at least 6 hours of direct light.
- Yellow leaves: Excess nitrogen fertilizer. Use a feed higher in phosphorus instead.
- Poor germination: Planting seeds too deep (> 1 cm). Sow seeds on or barely under the surface.
- Misshapen roots: Soil is compacted. Add coarse sand or perlite to your mix for better airflow and root development.
Harvest and Storage
Harvest stevia leaves gently by snipping branches or plucking mature leaves to avoid damaging the root system. A sharp pair of scissors or clean garden shears makes this safer and cleaner.
Store fresh leaves in a cool, dark place ideally between 4–7°C (39–45°F) with about 60% humidity for up to 2 weeks. For longer preservation, dry leaves at room temperature in a ventilated, shaded area, or freeze them in sealed bags.
You can also preserve stevia by steeping leaves to make syrup, drying and powdering them, or freezing chopped leaves in ice cube trays for easy future use.
Don’t forget to save seeds from the healthiest plants for next season. Harvest seeds when pods turn brown and dry. Store seeds in paper packets in a cool, dry place for best viability for up to 2 years.
What Success Looks Like
When you pull your first firm, fragrant stevia stem from its pot, you’ll feel a quiet satisfaction — proof that careful attention and patience pay off. Expect a yield of around 1–2 kg (2–4 lbs) of healthy leaves per large container over a full growing season. The leaves will be deep green, glossy, and slightly thickened, full of natural sweetness ready to transform your beverages and recipes.
Success is less about perfection and more about your connection to the process: observing subtle changes in leaf tone, feeling the warmth of sun on a thriving plant, and tasting the quiet sweetness only homegrown stevia can deliver.
Mini Recap — Your Success Checklist
- Pot depth: at least 30 cm (12 inches).
- Soil mix: 70% loam, 20% compost, 10% sand or perlite for drainage.
- Watering: 2–3 times per week, depending on moisture check.
- Sunlight: 6–8 hours daily.
- Fertilizer: every 3–4 weeks, low nitrogen, higher phosphorus.
- Harvest: 70–90 days after sowing or planting seedlings.
Closing Reflection
Remember, success in gardening doesn’t come from chasing perfection but from consistent small steps taken with care and curiosity. Every plant you nurture teaches you something new. Don’t rush it — watch closely, make adjustments, and savor the quiet moments as stevia grows and sweetens your world. That connection, that mindful attention, is what truly makes you a gardener.

Hi there — I’m Kyla, the creator behind Kyla Garden Tips 🌿
I’ve always been passionate about plants, flowers, and the simple joy that comes from growing something beautiful. What started as a small balcony garden has turned into a love for helping others create their own green spaces — no matter how big or small.